
Halloween Rice Krispie Treats are my annual act of culinary redemption. The one dessert that convinces me there's actually a method to all the candy madness.
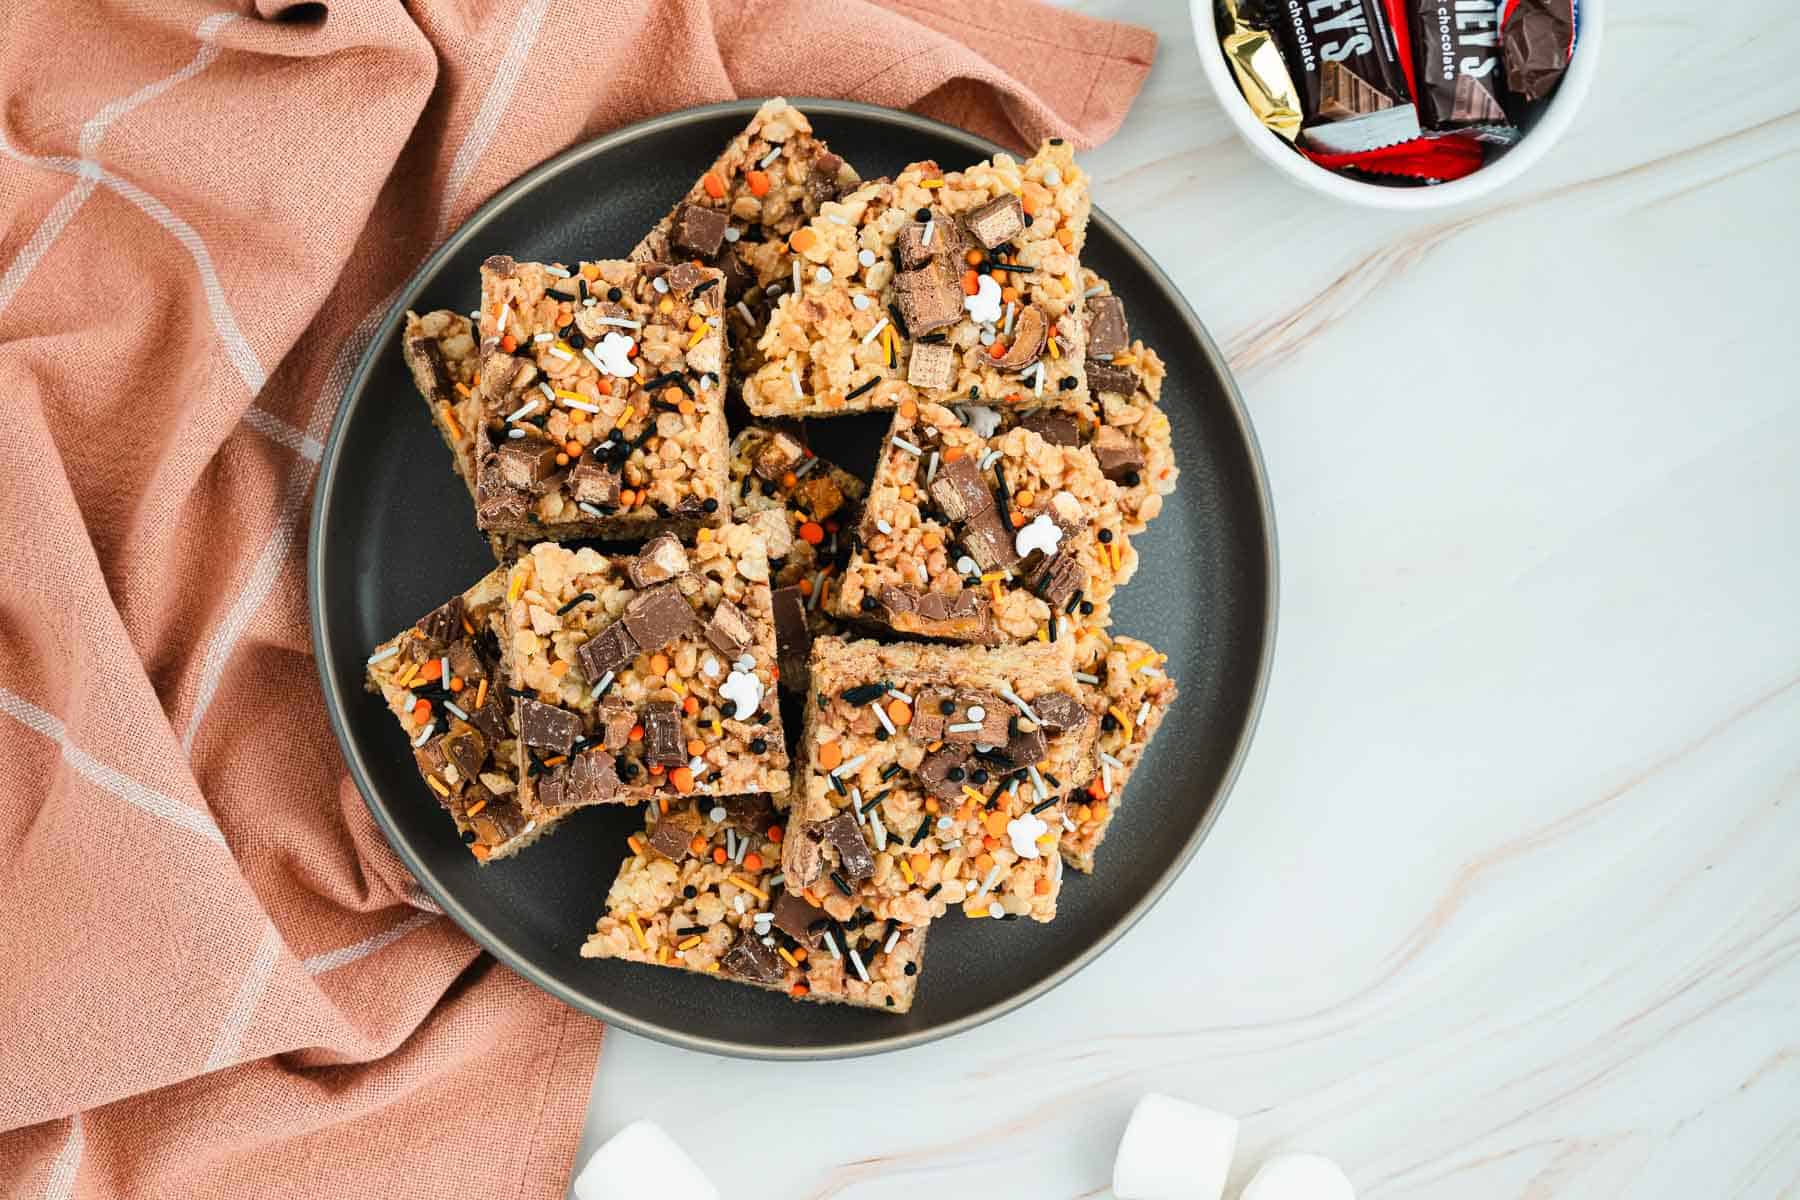
Every year I tell myself I'm done with sweets. No more "just one" mini bar, no more picking through the leftover stash. As if possessed by a Halloween spirit with a vengeful sweet tooth. Then I blink, and I'm standing over a bowl of melted marshmallows, spatula in hand, pretending this was my plan all along.
These bars are fast, dangerous, and completely addictive!
They are everything you loved about Halloween as a kid: the sticky fingers, the sugar rush, the thrill of too much candy. The marshmallows become glossy and gooey, the cereal gives that satisfying crunch, and the chopped-up candy melts into little pockets of chaos that somehow make perfect sense together.
I love that this recipe asks for almost nothing: one bowl, a handful of ingredients, and zero patience.
It's not baking; it's barely cooking.
It's damage control disguised as dessert!
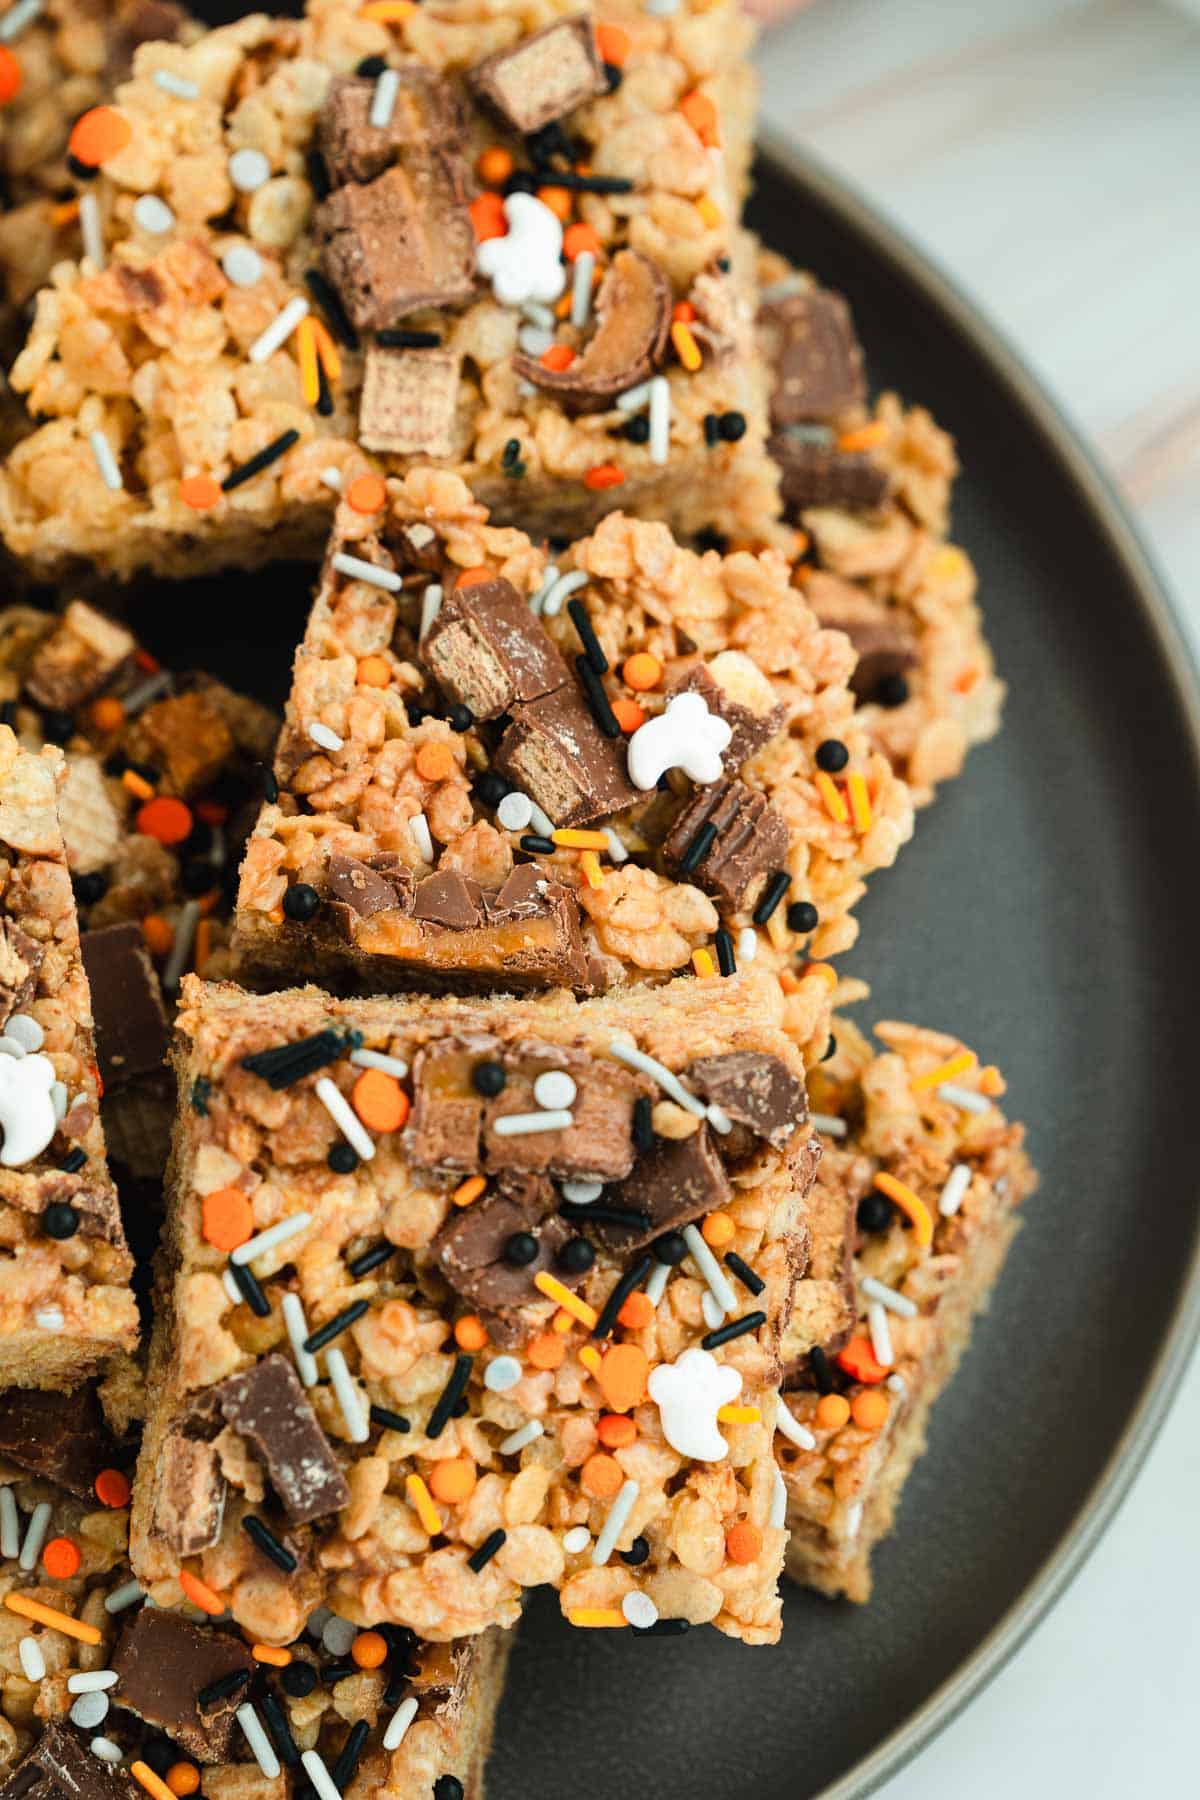
I usually throw these together right before a Halloween party, at the exact moment I realize I've eaten more candy than I handed out.
The result? Gooey, chewy, crunchy squares that vanish faster than my self-control. Set them beside a Halloween Charcuterie Board or with ghost muffins, and suddenly it looks like I had a themed menu instead of a panic-baking episode.
If you've got marshmallows, cereal, and an unholy amount of candy, you're already halfway there.
Let's talk about the mix that makes these treats so dangerously good.
My Suggested Holiday Candy Mix
Every Halloween, I swear I'll use fewer candy bars. Yet, every year, I end up chopping more.
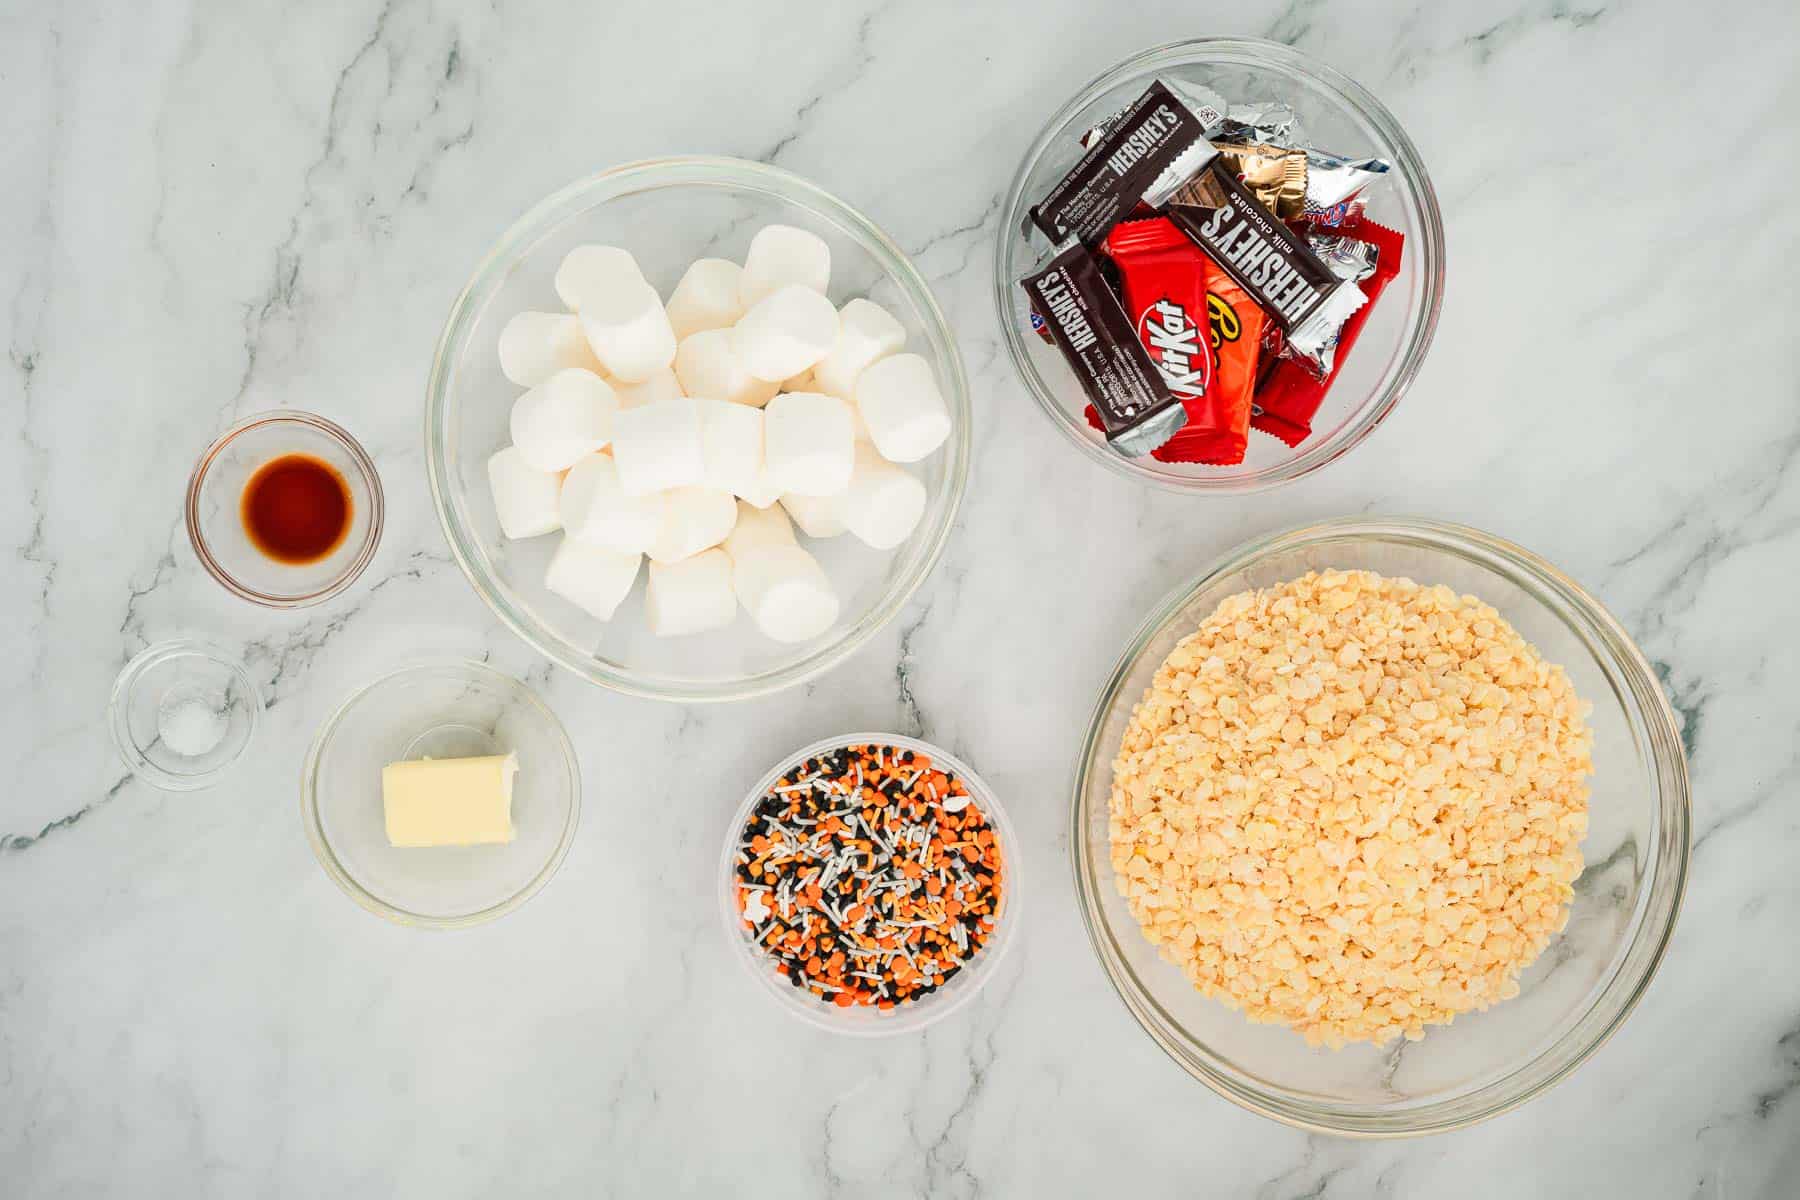
Here's my go-to combination, a glorious mix of chewy, crunchy, and melty textures that turn these treats into something greater than the sum of their parts.
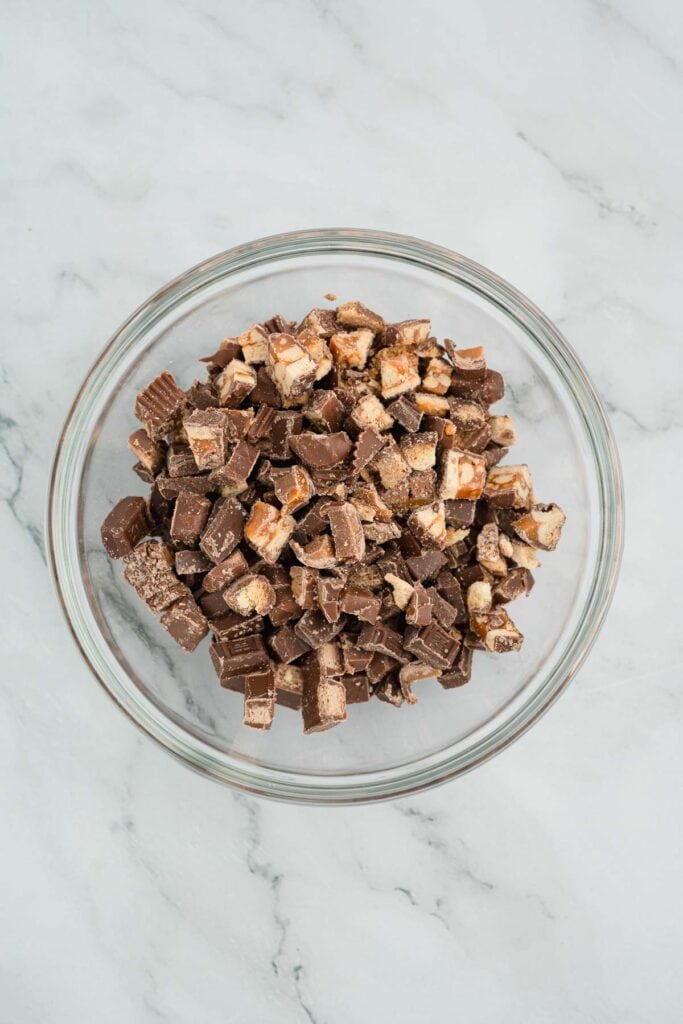
- Reese's Peanut Butter Cups: The peanut butter melts just enough to swirl through the marshmallow, adding a nutty richness.
- Hershey's Bars: The simple chocolate backbone.
- Milky Way Minis: Caramel pockets that stay just soft enough to make each bite feel decadent.
- Snickers Minis: The peanuts add crunch and keep everything from turning into a sugary blur.
- Kit Kat Bars: A bit of snap and crisp texture to offset all that chewiness.
- Twix Bars: Caramel, cookie, chocolate ... an obvious choice!
I like to chop the candy unevenly. It keeps the texture unpredictable. Tiny melty bits here, massive chunks there. Some bites taste like pure marshmallow fluff, others like a full-size candy bar crash-landed inside your dessert.
But honestly? Use what you've got. M&M's, candy corn, pretzels ... whatever survived the trick-or-treat chaos. That's part of the fun.
If you end up making these with something wild (looking at you, sour gummy worms), tell me in the comments. I want to know how it went!
More Spooky Halloween Dessert Ideas!
Want more Rice Krispie treats? Try my lifesaver candy corn Rice Krispies, they are just as easy and delicious and this Rice Krispie recipe.
- Cookie Monster Milkshake Recipe
- Candy Corn Rice Krispies Treats
- Blackberry Mint Magic Mojito Mocktail Recipe
- Non-Alcoholic Sparkling Apple Cider Mocktail


Top Tips for My Easy Halloween Rice Krispies Treats
There's no wrong way to make these… except for the few ways that definitely are. Here's what I learned after a few sticky disasters:
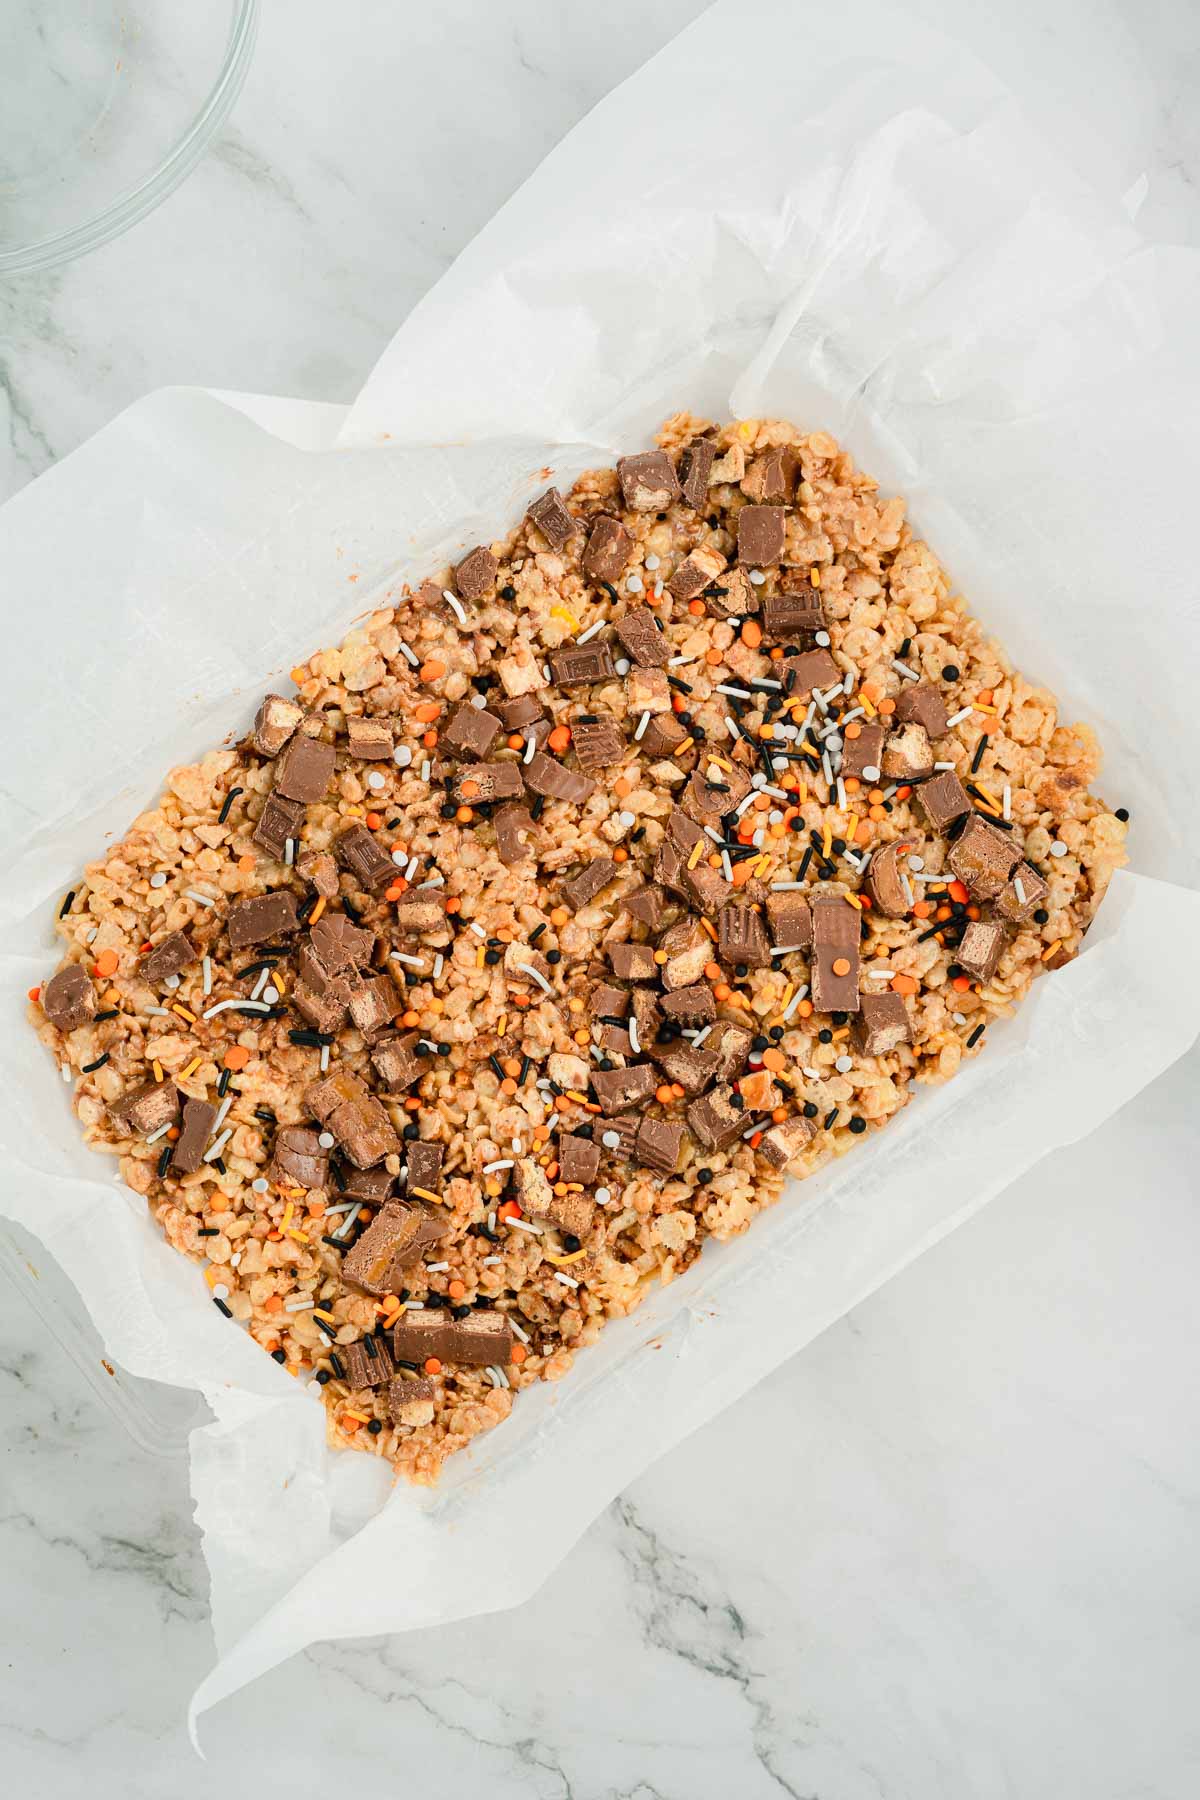
- Don't overheat the marshmallows. They should melt until smooth, not until they resemble golden glue. Too hot, and you'll end up with rock-solid bars that could double as paperweights.
- Go easy when pressing them into the pan. You're shaping treats, not compacting gravel. A gentle press keeps them soft and chewy instead of dense.
- Add the candy while it's still warm but not molten. Warm marshmallow will help the chocolate cling without turning your entire batch into brown sludge.
Storage Instructions For Rice Krispie Halloween Treats
Short Term Storage
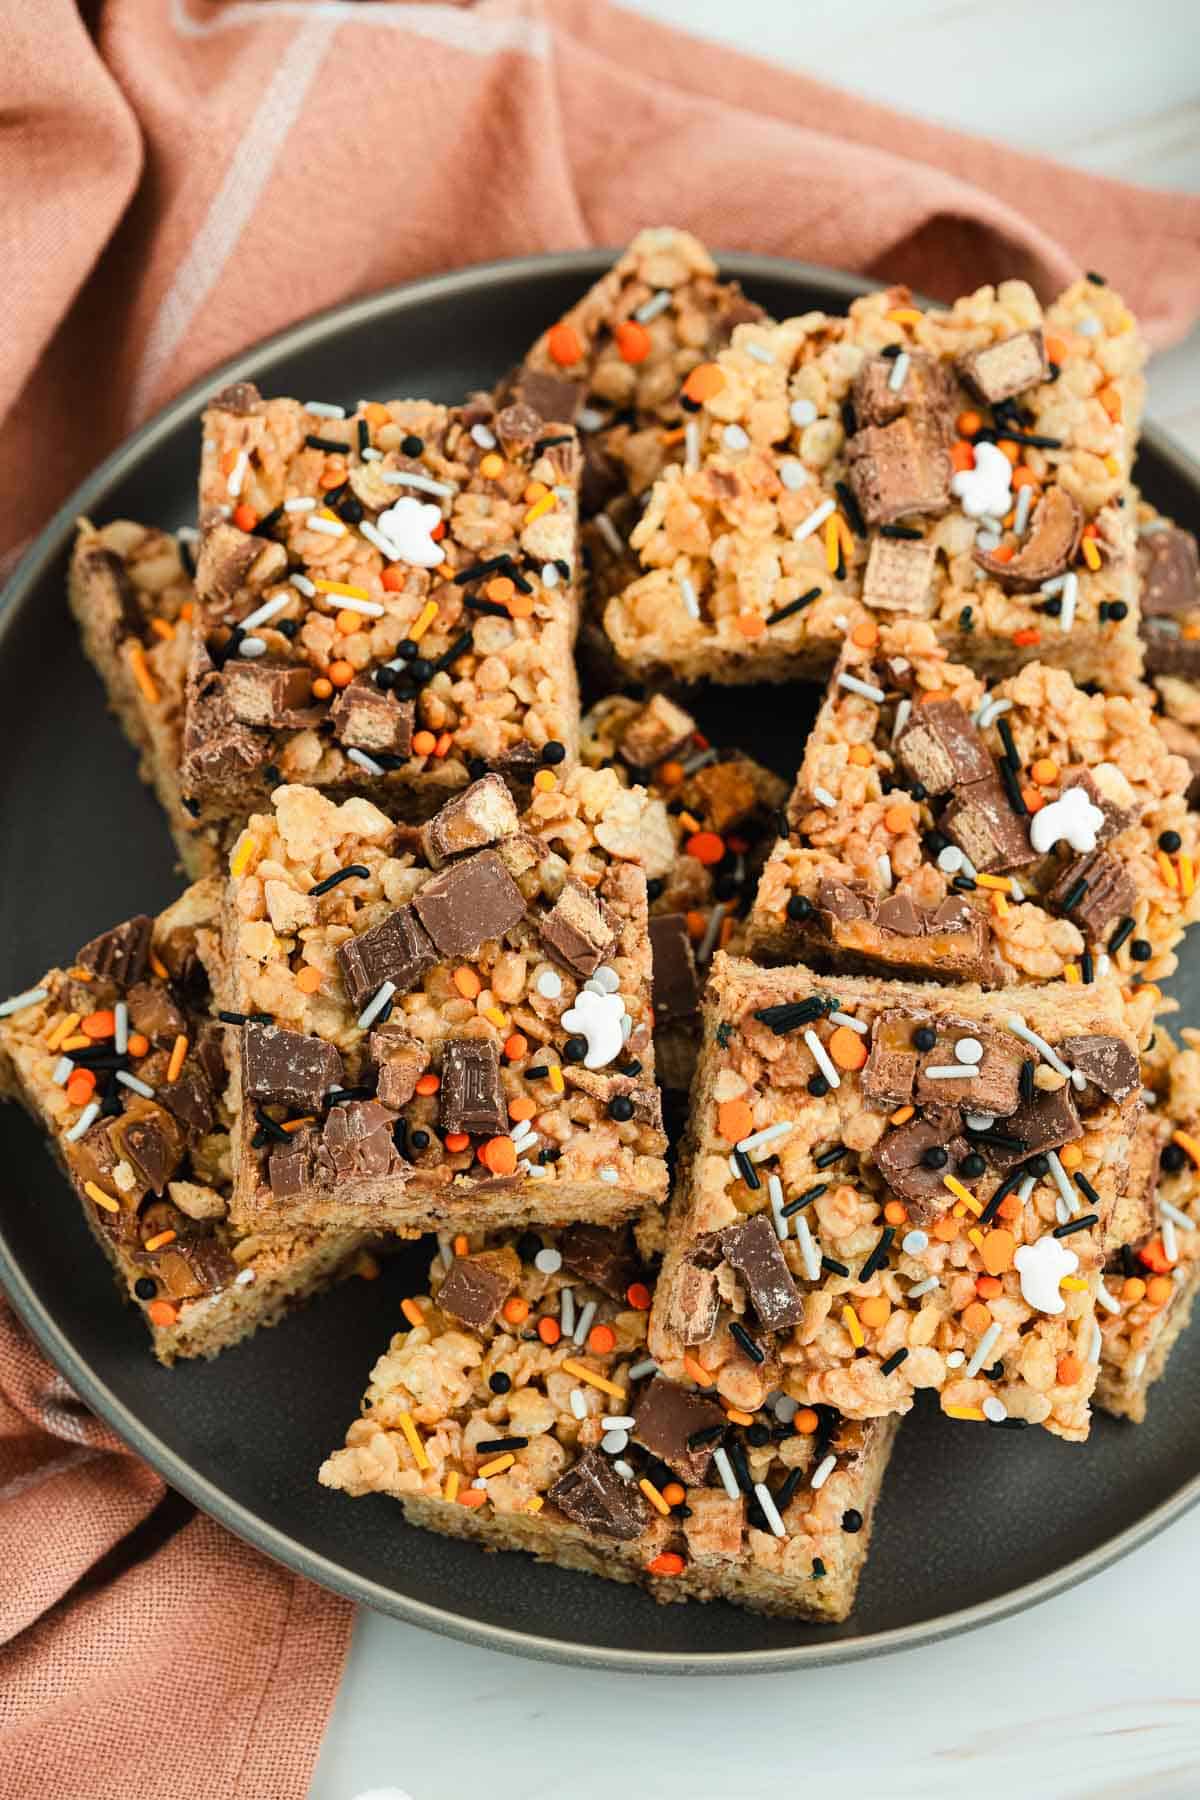
Once they're cooled and cut (assuming they last that long), store your Halloween Rice Krispie Treats in an airtight container at room temperature for up to three days.
Longer Storage
You can also keep them in the fridge for up to a week. Just know they'll firm up a little. 10 seconds in the microwave brings them back to life. You can also freeze them for up to a month, individually wrapped in parchment and sealed in a freezer-safe bag. Thaw at room temperature before serving.
That said, I've never actually seen them survive past day two. Between late-night snacking and "taste testing," the pan mysteriously empties itself.
If you try these, tag me or drop a comment, especially if you found a new candy combo that rivals this chocolate-loaded madness. Happy Halloween, and may your kitchen stay free of sticky fingerprints… until next October. 🎃

Halloween Rice Krispie Treats
Equipment
- 8 × 11½ inch baking dish
- Large microwave-safe bowl
- Small microwave-safe bowl
- Silicone or rubber spatula
- Measuring cups and spoons
- Sharp knife and cutting board
Ingredients
- 3½ tablespoons unsalted butter or salted butter, omitting the salt
- 1 12-ounce bag jumbo marshmallows
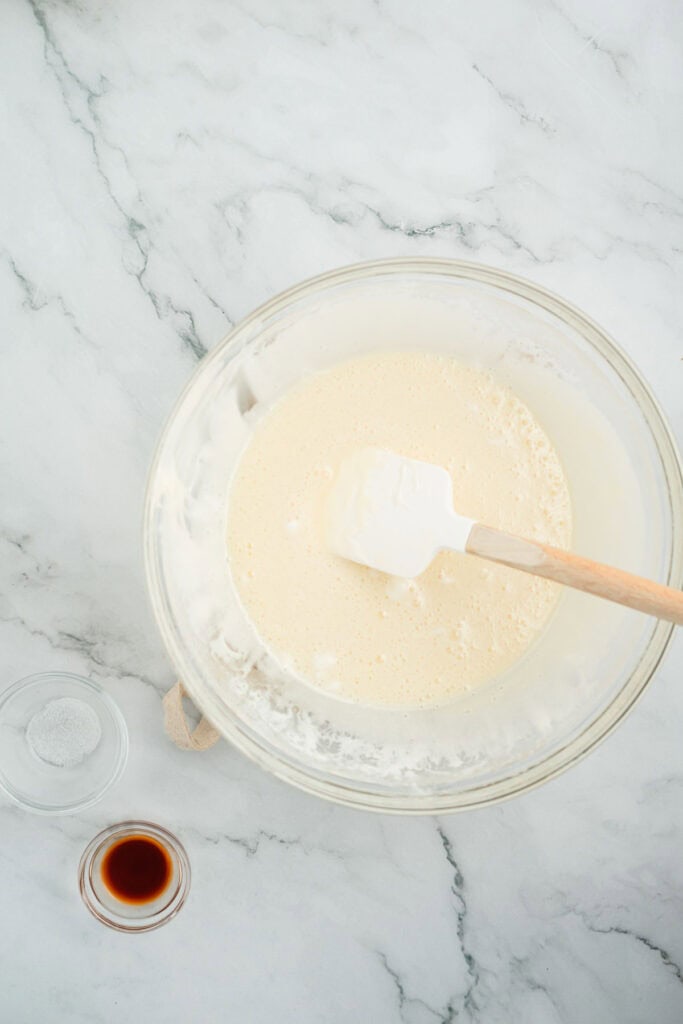
- 1 teaspoon vanilla extract
- ⅛ teaspoon salt
- 5 cups Rice Krispies cereal
- 2 cups chopped Halloween candy see suggested mix below
- 2 tablespoons sprinkles
My Favorite Halloween Candy Mix:
- 4 snack-size Reese's Peanut Butter Cups
- 3 fun-size Hershey's bars
- 3 Milky Way minis
- 5 Snickers minis
- 3 snack-size Kit Kat bars
- 4 fun-size Twix bars
Instructions
- Line an 8×11½-inch baking dish with parchment paper; set aside.
- Place butter in a microwave-safe bowl and microwave for 30 seconds until melted.
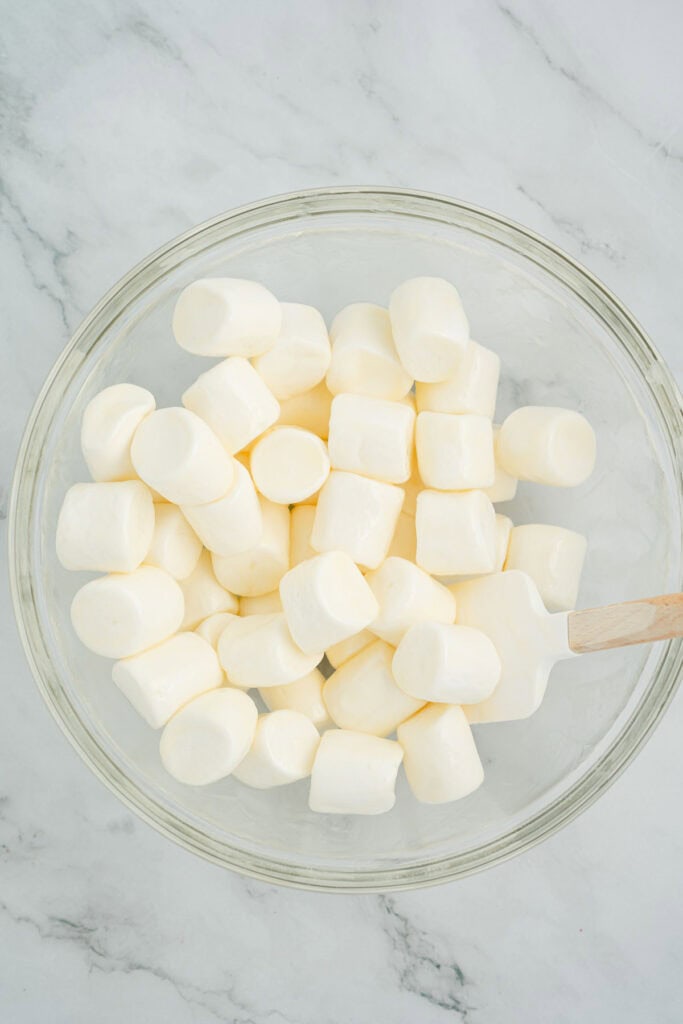
- In a separate large microwave-safe bowl, combine marshmallows and melted butter, tossing until marshmallows are well coated. Microwave for 2-3 minutes until marshmallows are completely melted.
- Quickly stir in vanilla extract and salt until well combined.
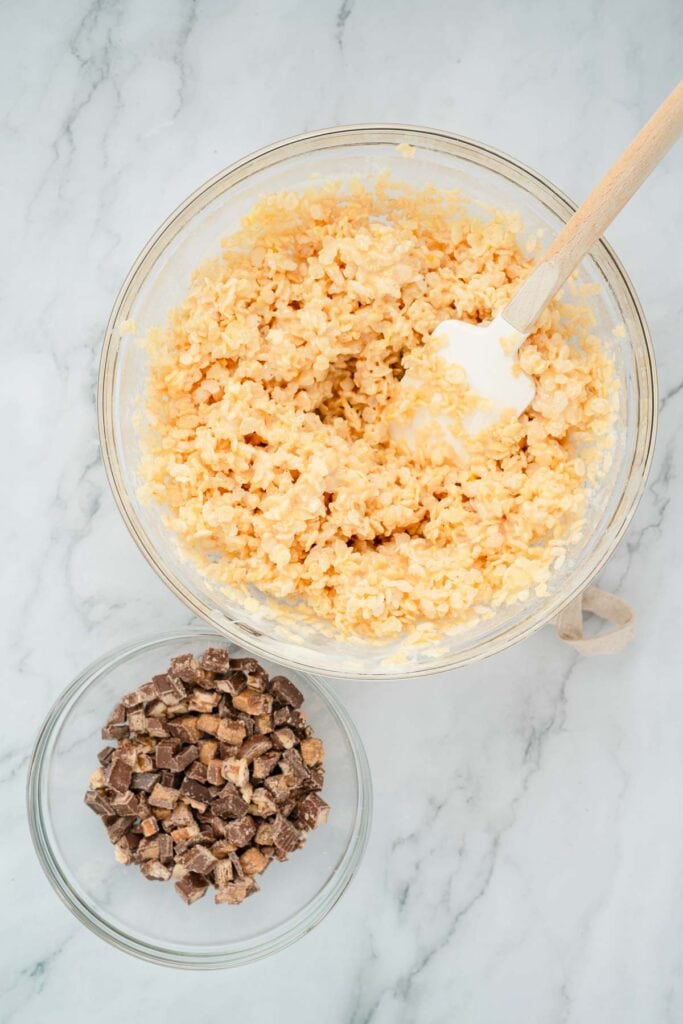
- Add half of the Rice Krispies cereal, stirring until completely coated with marshmallow mixture.
- Add remaining Rice Krispies and mix until well combined.
- Fold in half of the chopped Halloween candy, incorporating completely into the mixture.
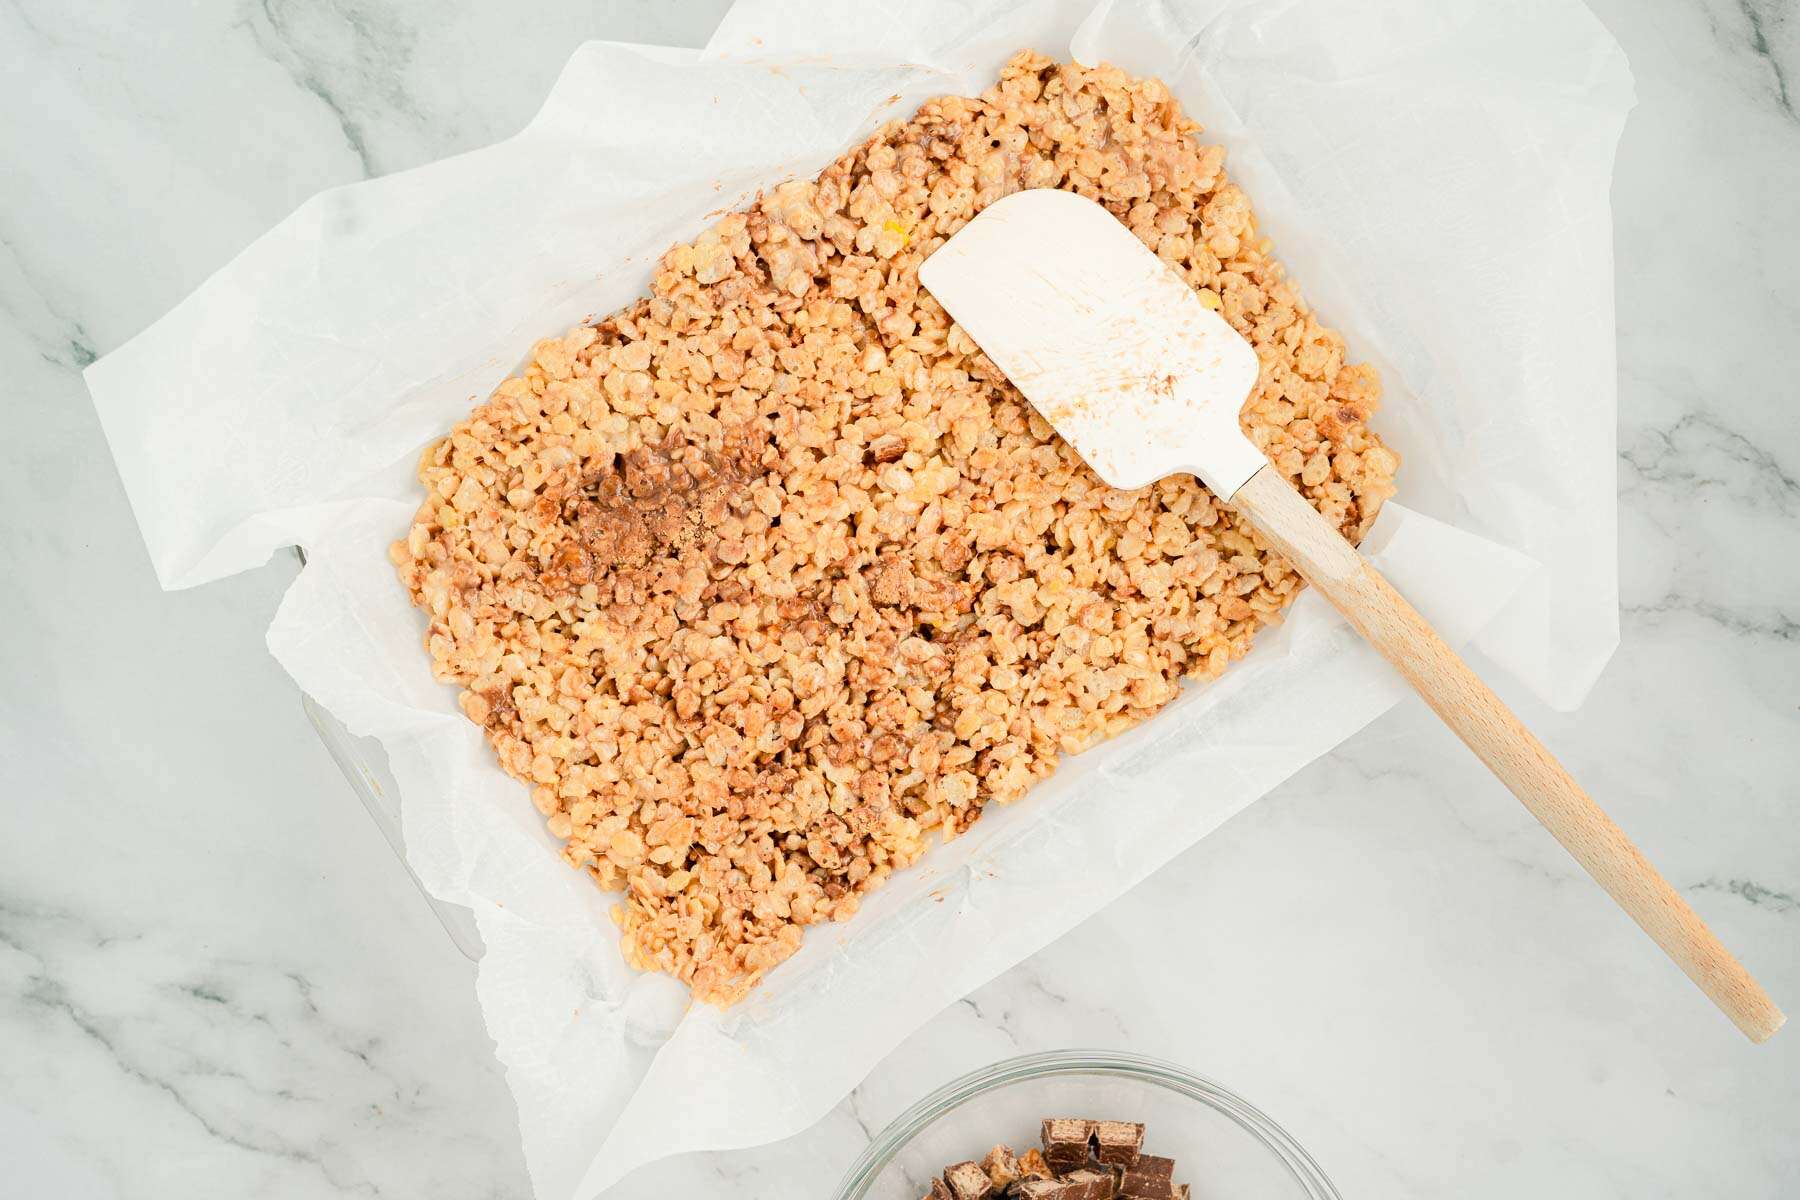
- Transfer mixture to prepared baking dish and spread evenly. Using a spatula, gently press mixture into pan without compacting too firmly.
- Sprinkle remaining chopped candy and sprinkles over the top.
- Allow to set for 30 minutes to 1 hour before cutting and serving.


Comments
No Comments